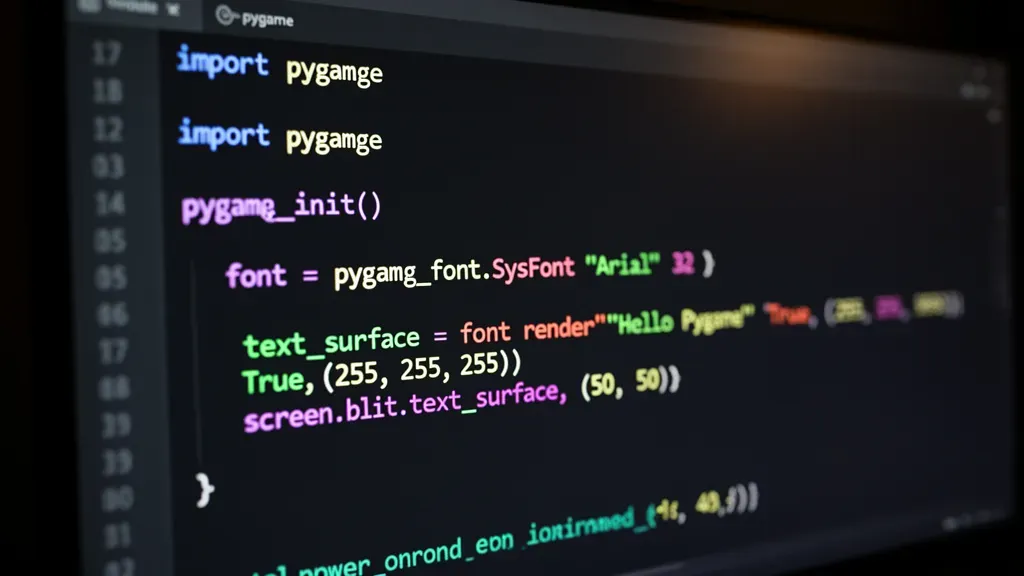
Pygame’s font module is deceptively simple but incredibly powerful. It lets you render text onto surfaces, which you can then blit onto the screen. At its core, it revolves around the pygame.font.Font class, which represents a font object loaded with a specific font file or a default font if none is specified.
Before you can use any font functionality, you need to initialize the font module explicitly using pygame.font.init(). This step is critical because if you forget it, you’ll get cryptic errors when trying to load or render fonts.
Creating a font object looks like this:
import pygame
pygame.font.init()

font = pygame.font.Font(None, 36)  # None means default font, 36 is the font size
The first argument to Font can be a path to a .ttf file if you want a custom font. If you pass None, it falls back to a built-in default font, which is pretty handy for quick prototypes or debugging.
Once you have a font object, the primary method you’ll use is render(). This method takes the text string, an antialiasing flag (True or False), and a color tuple, returning a new Surface with the rendered text on it.
Colors in Pygame are simple RGB tuples, like (255, 255, 255) for white or (0, 0, 0) for black. Here’s a minimal example of rendering some text:
text_surface = font.render("Hello, Pygame!", True, (255, 255, 255))
That text_surface is just like any other Pygame surface, so you can blit it wherever you want on the screen. The render() method also takes an optional background color parameter, but it’s rarely used because transparent backgrounds are often preferred.
Fonts are also smart enough to handle Unicode, which means you can render characters from many languages without much hassle. That said, you need to ensure the font file you’re using supports the glyphs you want.
One less obvious but useful feature is measuring text size before rendering. You can use font.size(text) to get the width and height in pixels that the rendered text will take. This comes in handy for aligning text or creating UI elements dynamically:
text_width, text_height = font.size("Measure me!")
Keep in mind that pygame.font.SysFont() is another way to create font objects by specifying a system font name instead of a file path. It is convenient when you want a specific style like “Arial” or “Courier New” without bundling fonts.
Example:
font = pygame.font.SysFont("Arial", 24)
The font module doesn’t handle font loading asynchronously, so loading big fonts or many fonts can cause hiccups. That is something to consider in more complex applications.
Also, if you ever need to check if the font module is initialized, use pygame.font.get_init(). It’s a small helper but can save debugging time.
All of this combines to make text rendering in Pygame both flexible and simpler. Fonts are surfaces too, so once you grasp these basics, you have a lot of power to create rich UI elements or game HUDs with crisp, readable text. Keep in mind that each call to render() creates a new surface, so if you’re rendering the same text every frame, cache that surface to avoid unnecessary overhead. This gets us into performance territory, which is critical when you want smooth gameplay experiences.
Now, let’s see how to put that rendered text on the screen and control its appearance…

TP-Link Deco X55 AX3000 WiFi 6 Mesh System - Covers up to 6500 Sq.Ft, Replaces Wireless Router and Extender, 3 Gigabit Ports per Unit, Supports Ethernet Backhaul, Deco X55(3-Pack)
$132.76 (as of July 17, 2026 15:16 GMT +00:00 - More infoProduct prices and availability are accurate as of the date/time indicated and are subject to change. Any price and availability information displayed on [relevant Amazon Site(s), as applicable] at the time of purchase will apply to the purchase of this product.)Rendering text on the screen with Pygame
First, ensure you have a Pygame window set up. That’s important because without a display, there’s nowhere to render your text. You typically do this by initializing Pygame and creating a window surface where all your game elements will be drawn.
import pygame
pygame.init()

screen = pygame.display.set_mode((800, 600))  # Width, Height
pygame.display.set_caption("Text Rendering Example")
Now that you have your screen ready, you can blit the text surface onto it. The important method here is blit(), which takes two arguments: the surface you want to draw and the position (as a tuple) where you want to place it on the screen.
Here’s how you would put your previously rendered text onto the screen:
# Clear the screen with a black color
screen.fill((0, 0, 0))

# Blit the text surface at position (50, 50)
screen.blit(text_surface, (50, 50))

# Update the display
pygame.display.flip()
It’s a good practice to clear the screen before drawing each frame to avoid artifacts from previous frames. This is especially important in games where the screen updates frequently.
To keep things running smoothly, you’ll want to implement a game loop that handles events and updates the display continuously. Here’s a basic structure for that:
running = True
while running:
    for event in pygame.event.get():
        if event.type == pygame.QUIT:
            running = False

    # Clear and draw everything here
    screen.fill((0, 0, 0))
    screen.blit(text_surface, (50, 50))
    pygame.display.flip()

pygame.quit()
This loop listens for events, such as closing the window, and ensures the screen is updated every frame. You can also include additional logic here to update your game state or handle user input.
When it comes to customizing the appearance of your text, you might want to explore different styles, sizes, and colors. This is where pygame.font.Font becomes crucial, as it allows you to load various fonts and sizes to match your game’s aesthetic.
However, be mindful of performance when dealing with multiple text elements. Caching rendered text surfaces that don’t change often can significantly improve your frame rates. For instance, if you have a score display that updates infrequently, render it once and reuse the surface instead of calling render() every frame.
Here’s an example of caching:
score = 0
score_surface = font.render(f"Score: {score}", True, (255, 255, 255))

# Later in the game loop
screen.blit(score_surface, (10, 10))
If your text needs to change dynamically, you might have to re-render it, but keep the changes minimal. This keeps the workload light and your game running smoothly.
As you build out your UI, consider the layout and spacing of your text. Using the size() method can help you determine how much space your text will occupy, so that you can position other elements accordingly. This can make your interface look more polished and easy to use.
Another tip is to account for different screen sizes and resolutions. If you’re targeting multiple platforms, scaling your text size and positioning dynamically based on the screen dimensions can greatly enhance the user experience…
Customizing fonts and handling performance
To optimize font usage in Pygame, consider implementing a font manager. A font manager can preload various font sizes and styles, caching them for quick access. This way, you minimize the overhead of loading fonts at runtime, which can lead to noticeable frame drops.
class FontManager:
    def __init__(self):
        self.fonts = {}

    def get_font(self, font_name, size):
        key = (font_name, size)
        if key not in self.fonts:
            self.fonts[key] = pygame.font.Font(font_name, size)
        return self.fonts[key]
With a font manager in place, you can easily retrieve fonts without worrying about loading them multiple times. Here’s how you could use it:
font_manager = FontManager()
font = font_manager.get_font(None, 36)  # Load default font at size 36
text_surface = font.render("Optimized Text", True, (255, 255, 255))
Another performance consideration is the frequency of text updates. If your text content changes very little during gameplay, you should avoid calling render() repeatedly. Instead, update the text surface only when necessary.
For example, if you have a health display that updates only when the player takes damage, render the text only at that moment:
health = 100
health_surface = font.render(f"Health: {health}", True, (255, 0, 0))

# Update health only when it changes
if player_takes_damage:
    health -= damage_amount
    health_surface = font.render(f"Health: {health}", True, (255, 0, 0))
Additionally, consider using sprite groups if you have multiple text elements that need to be managed. This can help streamline your rendering process and improve performance by grouping similar objects together.
text_group = pygame.sprite.Group()
text_sprite = pygame.sprite.Sprite()
text_sprite.image = health_surface
text_sprite.rect = text_sprite.image.get_rect(topleft=(10, 10))
text_group.add(text_sprite)

# In your game loop
text_group.draw(screen)
Remember that Pygame’s rendering is done on the CPU, so if you find your game lagging due to excessive text rendering, you might need to rethink your approach. Offloading some of the rendering work can sometimes be beneficial, but in most cases, efficient caching of surfaces will suffice.
Another important aspect of performance is the resolution of the fonts you are using. Larger font files will take longer to load, and if you’re using many different fonts, this can add up quickly. Stick to a limited number of font types and sizes to keep loading times manageable.
Lastly, always profile your application. Use tools like Pygame’s built-in time functionality to keep an eye on how long your rendering takes and adjust your strategy accordingly. Making informed decisions based on actual performance data is the best way to ensure a smooth gameplay experience.