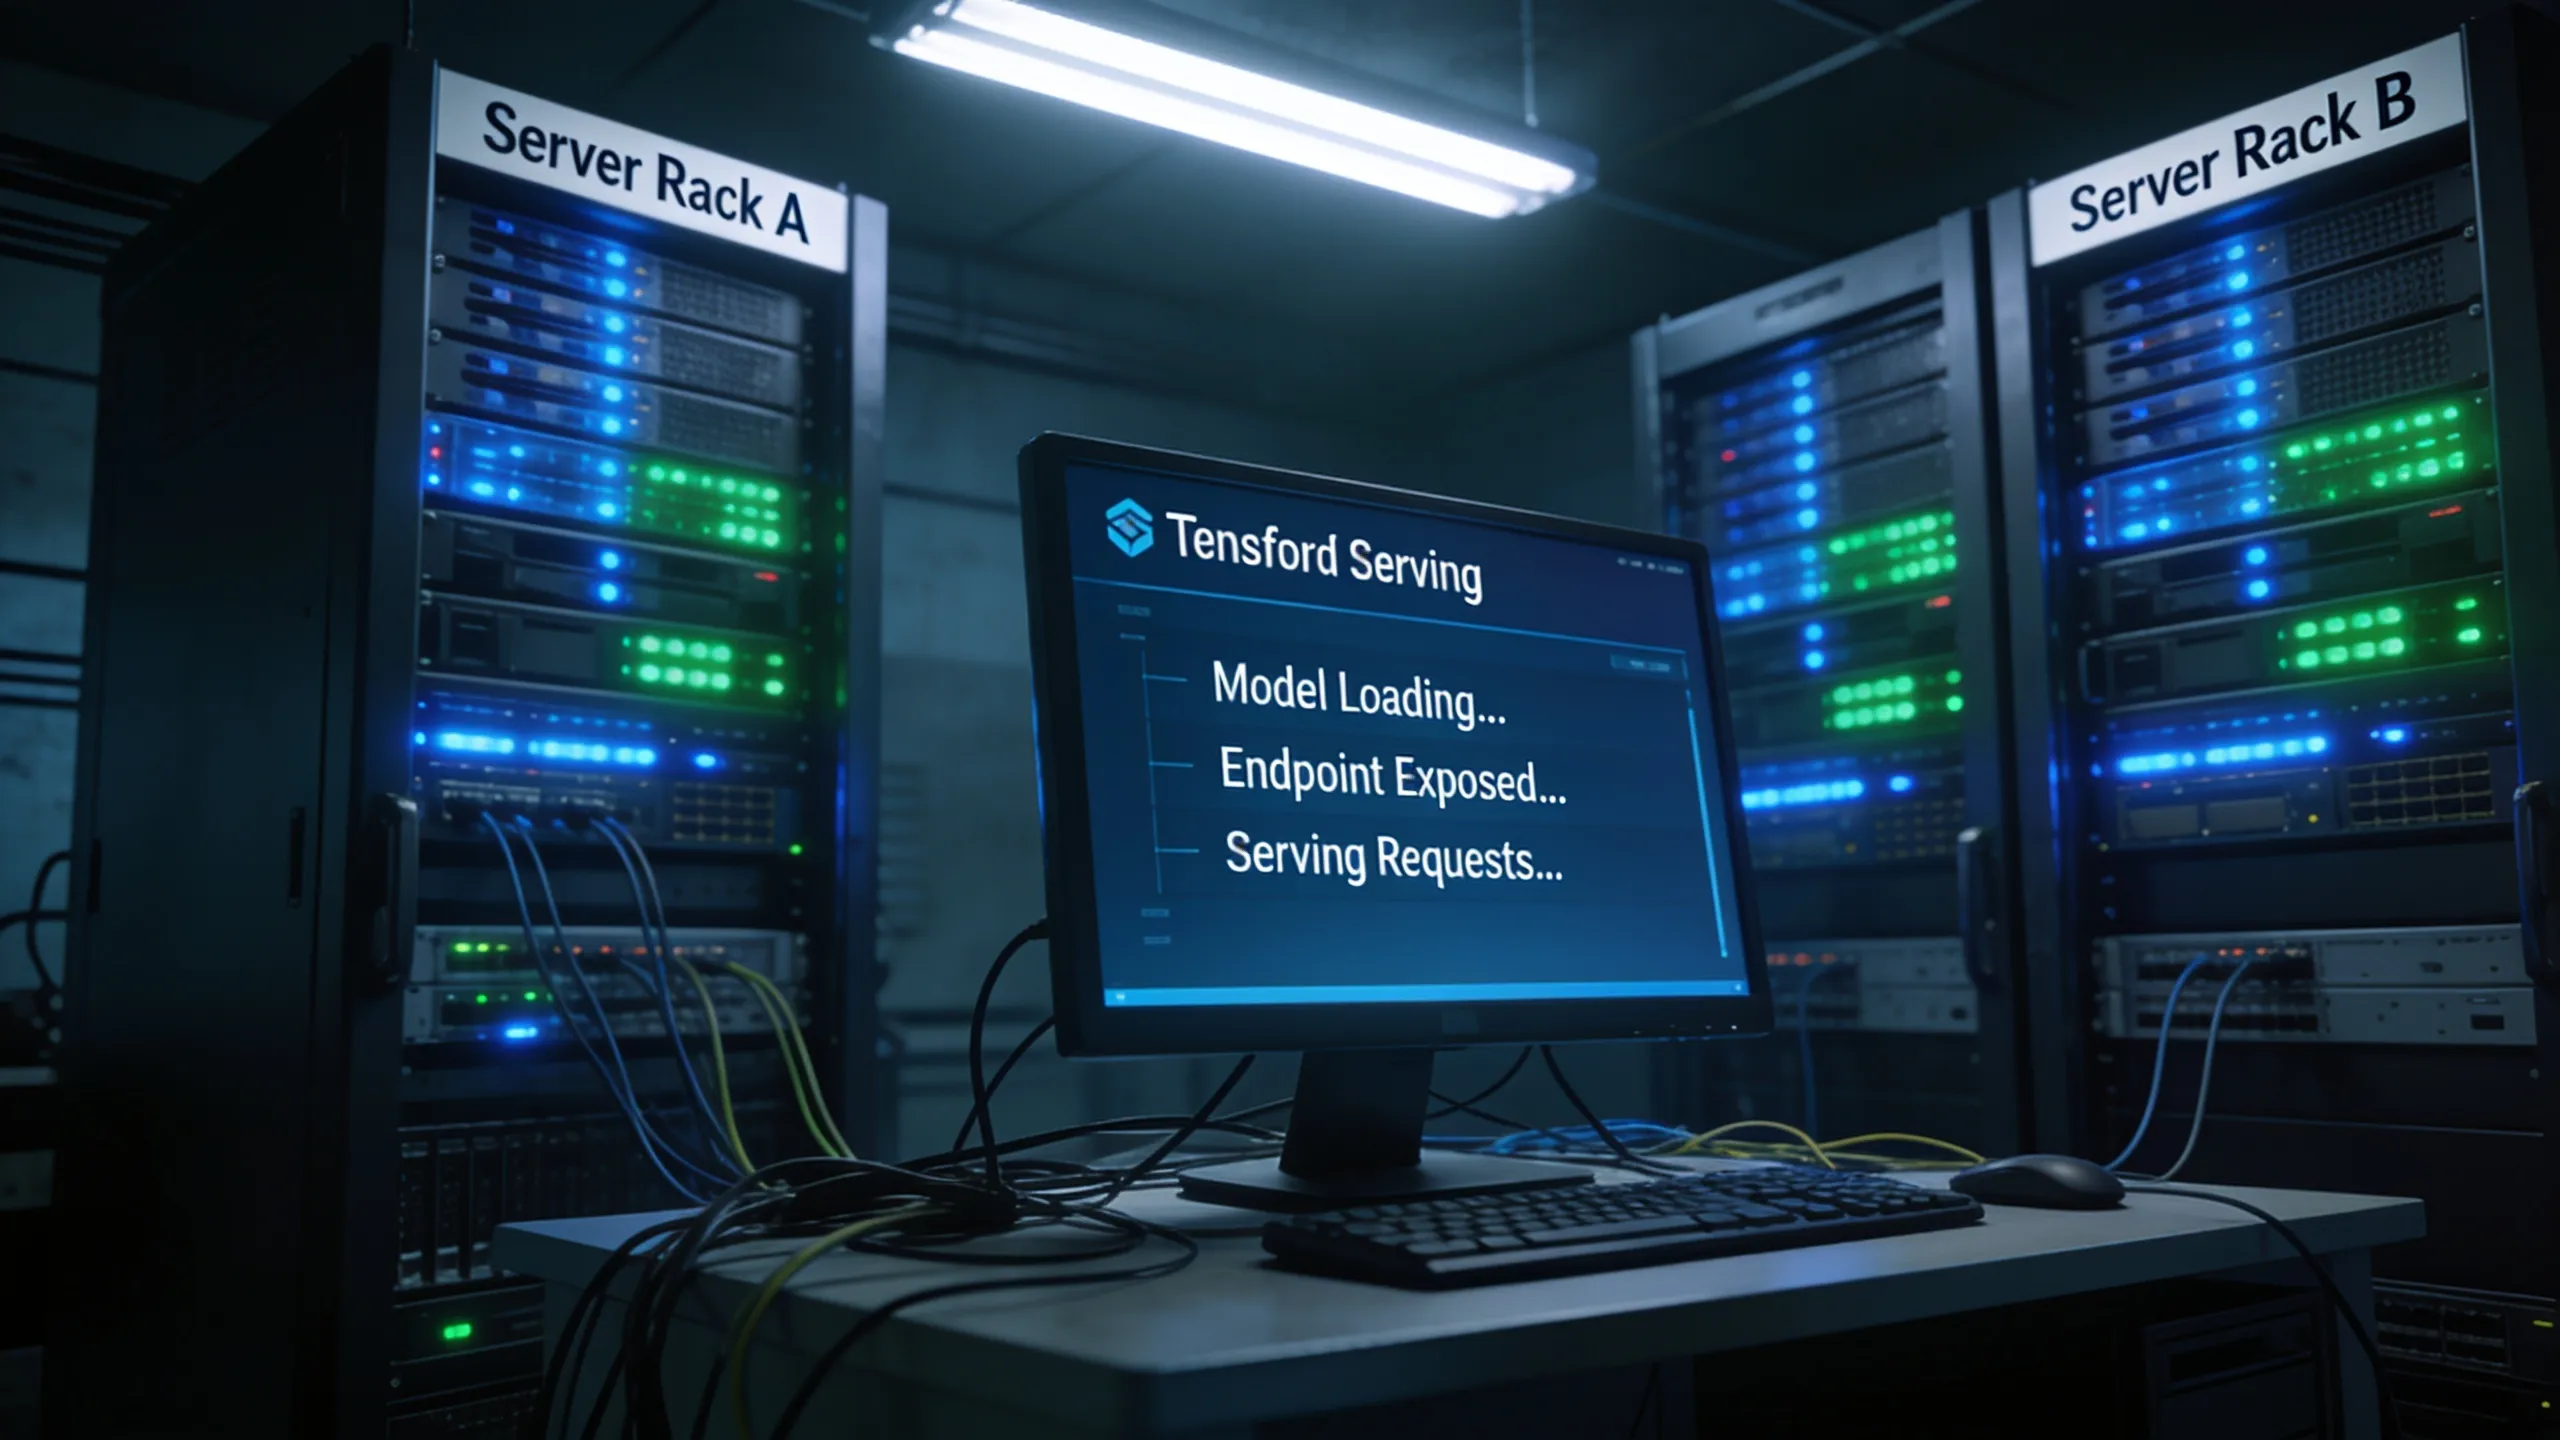
The architecture of TensorFlow Serving is designed to provide a flexible, efficient serving system for machine learning models. At its core, it allows you to deploy and manage models in a production environment with ease. The architecture consists of several key components that work together to ensure that models can be served, updated, and scaled seamlessly.
One of the primary components is the ModelServer, which is responsible for loading and serving models. The ModelServer can handle multiple versions of a model at once, allowing for smooth transitions during updates. This feature is particularly useful in scenarios where you want to test a new model version alongside the currently deployed version.
Another essential aspect of TensorFlow Serving is its use of gRPC for communication. This high-performance, open-source RPC framework enables efficient communication between the client and the server. Clients can send requests to the server to get predictions, and the server responds with the results. This setup is optimized for low-latency and high-throughput scenarios, making it ideal for real-time applications.
TensorFlow Serving also supports a variety of model formats and provides a plugin architecture that allows custom models to be served. This flexibility means that whether you are using TensorFlow, Keras, or even other machine learning frameworks, you can integrate them into the TensorFlow Serving ecosystem.
To demonstrate how you can set up a simple TensorFlow Serving system, consider the following Python code snippet:
import tensorflow as tf

# Load a pre-trained model
model = tf.keras.models.load_model('my_model.h5')

# Save the model in the TensorFlow Serving format
tf.saved_model.save(model, 'saved_model/my_model')
Once your model is saved in the appropriate format, you can start TensorFlow Serving by running a command that specifies the model’s path. This command sets up the server to listen for incoming requests:
tensorflow_model_server --rest_api_port=8501 --model_name=my_model --model_base_path=/path/to/saved_model/my_model
This command initializes the server with your model, making it accessible over a REST API. You can then send HTTP requests to the server to get predictions. The simplicity of the setup is one of the reasons why TensorFlow Serving is so popular among developers deploying machine learning models.
As you delve deeper into the architecture, you’ll notice that TensorFlow Serving is designed to be highly configurable. You can adjust various parameters to optimize performance, such as batching requests to enhance throughput. Batching allows the server to group multiple inference requests together, reducing the overhead of processing each request individually.
Here’s a small example of how batching can be implemented:
import requests
import json

# Example input data for batching
data = {
    "signature_name": "serving_default",
    "instances": [
        {"input_1": [1.0, 2.0, 3.0]},
        {"input_1": [4.0, 5.0, 6.0]},
        {"input_1": [7.0, 8.0, 9.0]}
    ]
}

# Send a batch request to the server
response = requests.post('http://localhost:8501/v1/models/my_model:predict', json=data)
predictions = response.json()
This example demonstrates how you can send multiple instances for prediction in a single request, showcasing the efficiency of TensorFlow Serving’s architecture. The ability to handle dynamic model versions and the integration with gRPC and REST APIs make it a vital tool for modern machine learning deployments.
As you explore further, keep in mind the importance of monitoring and logging within the serving infrastructure. Tools like Prometheus or Grafana can be integrated to track performance metrics, and custom logging can help diagnose issues as they arise. Understanding the flow of data and the interactions between components will empower you to build robust machine learning applications that can adapt to changing requirements.

Smiling 2 Pack Case Compatible with Apple Watch SE 3 (2025)/ SE 2/ SE/Series 6/5/4 44mm with Tempered Glass Screen Protector, Hard PC Case Overall Protective Cover - Black
$6.29 (as of July 14, 2026 15:05 GMT +00:00 - More infoProduct prices and availability are accurate as of the date/time indicated and are subject to change. Any price and availability information displayed on [relevant Amazon Site(s), as applicable] at the time of purchase will apply to the purchase of this product.)Setting up your model for deployment
To effectively set up your model for deployment, it very important to ensure that it’s properly configured and packaged. TensorFlow Serving requires models to be saved in the TensorFlow SavedModel format, which contains both the model architecture and the weights. This format is essential for the ModelServer to load and serve the model correctly.
When preparing your model for deployment, you should also consider the input and output signatures. These signatures define the expected input data format and the output data format that your model will produce. Defining these signatures helps ensure that the server can properly interpret incoming requests and format outgoing responses.
Here’s an example of how to define a signature for your model:
import tensorflow as tf

# Load your model
model = tf.keras.models.load_model('my_model.h5')

# Define the input signature
@tf.function(input_signature=[tf.TensorSpec(shape=[None, 3], dtype=tf.float32)])
def serve_model(input_tensor):
    return model(input_tensor)

# Save the model with the defined signature
tf.saved_model.save(model, 'saved_model/my_model', signatures={'serving_default': serve_model})
In this example, the input signature specifies that the model expects a tensor of shape [None, 3], indicating that it can handle batches of input data where each input has three features. This will guide TensorFlow Serving on how to process incoming requests.
After saving your model with the appropriate signatures, you can start the TensorFlow Serving server as previously demonstrated. However, it’s also important to manage versions of your model effectively. TensorFlow Serving allows for versioning by storing different model versions in separate directories. The server can then be configured to serve a specific version or to serve the latest version by default.
To manage model versions, you can structure your model base path like this:
saved_model/
    my_model/
        1/
        2/
        3/
In this structure, each subdirectory corresponds to a different version of the model. When starting the server, you can specify which version to use, or you can set up the server to always serve the latest version:
tensorflow_model_server --rest_api_port=8501 --model_name=my_model --model_base_path=/path/to/saved_model/my_model
With this setup, TensorFlow Serving automatically loads the latest version of the model, allowing seamless updates without downtime. That’s particularly beneficial in production environments where continuous integration and deployment practices are essential.
It is also advisable to implement a health check endpoint to monitor the status of your model server. This can be done by sending a GET request to the health endpoint provided by TensorFlow Serving:
import requests

# Check the health of the model server
health_response = requests.get('http://localhost:8501/v1/models/my_model/health')
print(health_response.json())
This response will indicate whether the model is ready to serve predictions, which will allow you to programmatically ensure that your application can handle requests without encountering errors due to unavailability.
As you become more familiar with TensorFlow Serving, you may want to explore more advanced features, such as A/B testing with different model versions or implementing a model retraining pipeline that automatically updates your deployed model based on new data. These practices can help you maintain high model performance and adapt to changing data distributions over time.