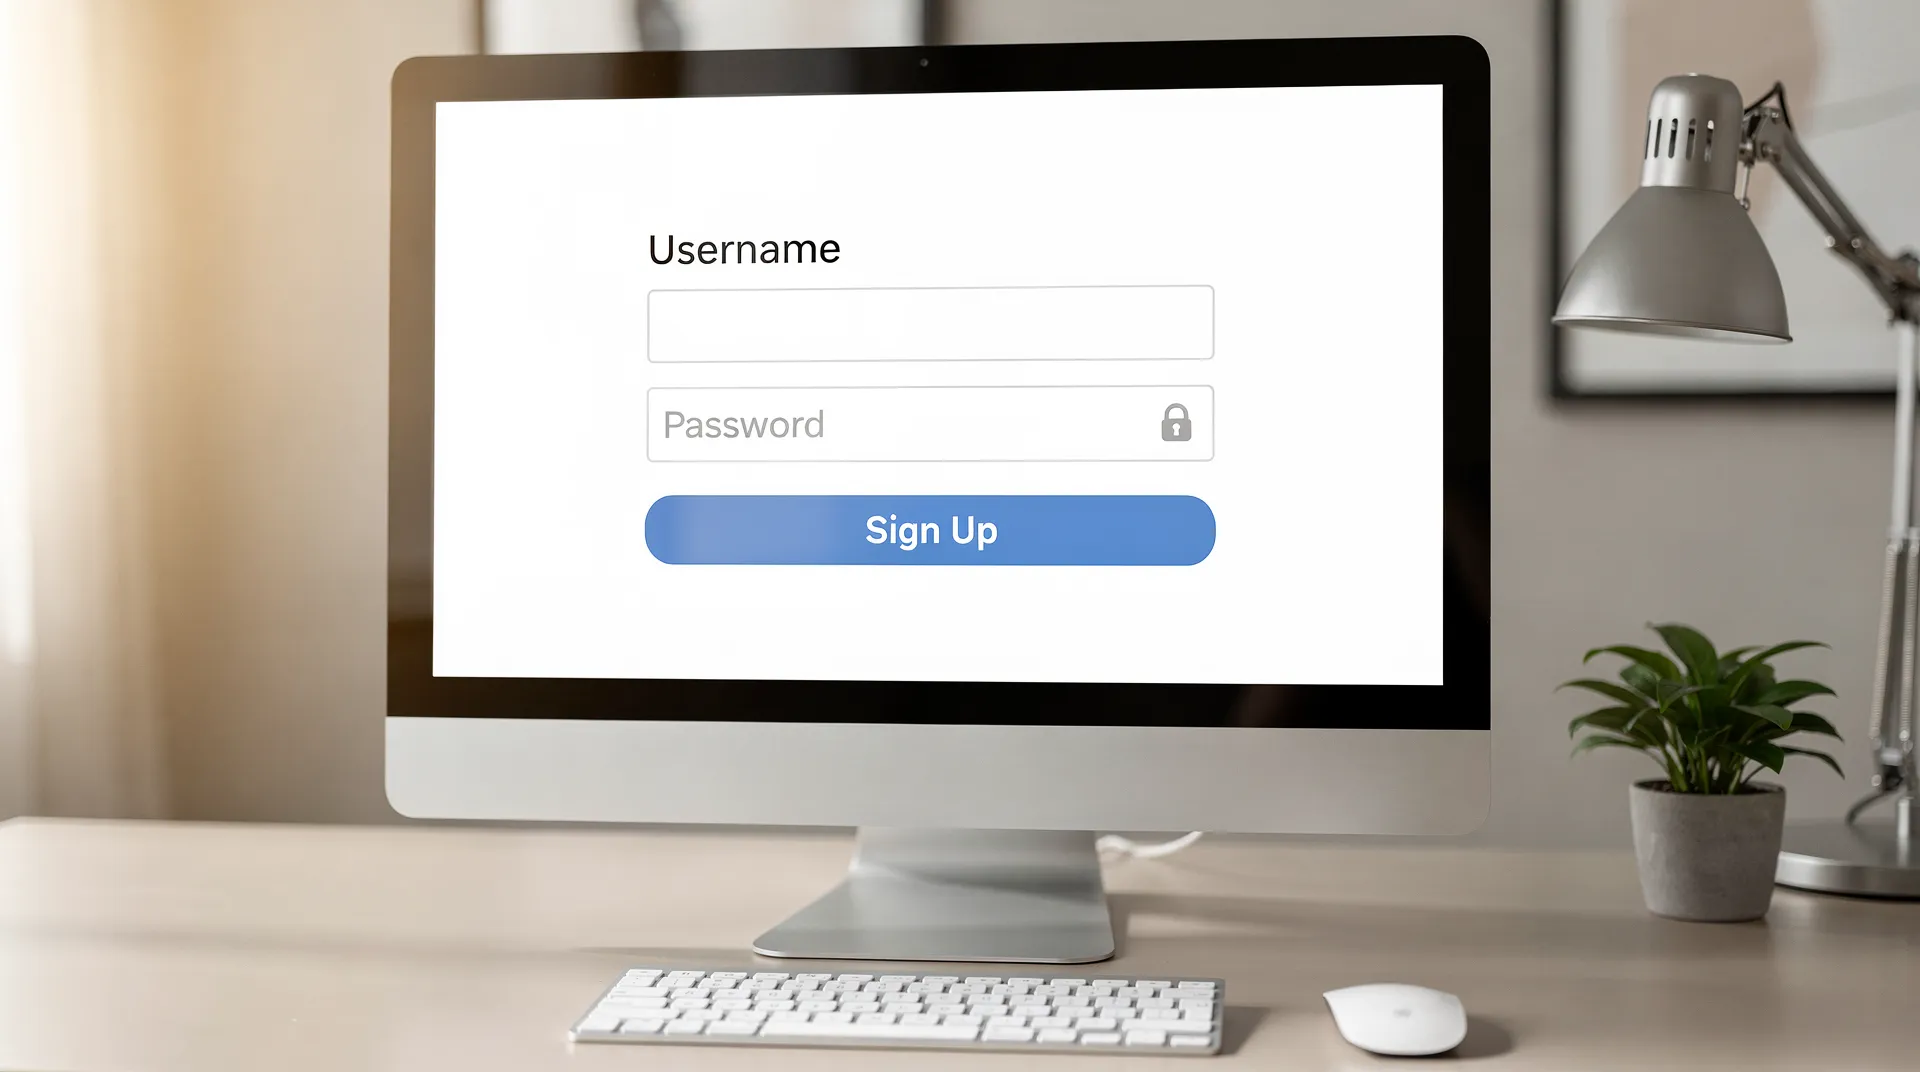
Django’s built-in authentication system provides a robust framework for handling user registration, login, and session management. The primary components include user models, authentication backends, and forms that simplify user interactions.
At the core of this system is the User model, which is designed to manage user accounts. You can access this model through django.contrib.auth.models.User. Creating a new user can be done with a simple call to the create_user method:
from django.contrib.auth.models import User

user = User.objects.create_user(username='myusername', password='mypassword')
Once you have a user, you can authenticate them using the built-in authentication views. For example, the login view can be accessed with:
from django.contrib.auth import authenticate, login

username = 'myusername'
password = 'mypassword'
user = authenticate(request, username=username, password=password)

if user is not None:
    login(request, user)
else:
    # Return an 'invalid login' error message
Django also provides forms for user authentication, such as AuthenticationForm. You can use it to create a login form easily:
from django.contrib.auth.forms import AuthenticationForm

form = AuthenticationForm(data=request.POST)
if form.is_valid():
    # Process the login
To handle user sessions, Django uses middleware that manages session data. When a user logs in, their session is created, allowing them to remain logged in across requests. You can customize session handling by modifying settings in your settings.py file.
It’s also worth noting that Django supports password hashing out of the box. When you create a user with create_user, the password is hashed before being saved in the database, ensuring security. You can check if a password is correct using:
user.check_password('mypassword')
This returns True if the password matches the stored hash, rendering it effortless to handle authentication without exposing raw passwords. For user registration, you often want to ensure that usernames are unique and passwords meet certain criteria. You can enforce these rules by overriding the save method of your user model or by using custom forms.
Integrating third-party authentication backends is also simpler. You can add OAuth or similar authentication mechanisms using packages like django-allauth. This package simplifies the integration of social authentication options like Google or Facebook, expanding your application’s capabilities.
Understanding Django’s authentication system opens up a world of possibilities for securing your web applications and providing a seamless user experience. As you dive deeper, you’ll find that customizing this system to fit your application’s needs is not only feasible but also quite rewarding.
In addition to authentication, user authorization becomes crucial when you want to restrict access to certain views or resources based on user roles. This leads us to the next piece of the puzzle – custom user permissions and roles…

Apple AirPods Pro 3 Wireless Earbuds, Active Noise Cancellation, Live Translation, Heart Rate Sensing, Hearing Aid Feature, Bluetooth Headphones, Spatial Audio, High-Fidelity Sound, USB-C Charging
$155.78 (as of June 17, 2026 07:01 GMT +00:00 - More infoProduct prices and availability are accurate as of the date/time indicated and are subject to change. Any price and availability information displayed on [relevant Amazon Site(s), as applicable] at the time of purchase will apply to the purchase of this product.)Implementing custom user permissions and roles
Custom user permissions and roles in Django allow you to fine-tune access control within your application. By default, Django comes with a permission system that lets you define permissions for your models, but sometimes you need a more granular approach tailored to your application’s specific needs.
To implement custom permissions, you can define them directly in your model’s Meta class. Here’s how you can add custom permissions to a model:
from django.db import models

class MyModel(models.Model):
    name = models.CharField(max_length=100)

    class Meta:
        permissions = [
            ('can_view_mymodel', 'Can view MyModel'),
            ('can_edit_mymodel', 'Can edit MyModel'),
        ]
After defining these permissions, you can create migrations and apply them to your database:
python manage.py makemigrations
python manage.py migrate
Once the permissions are in place, you can assign them to users or groups. To assign a permission to a user, you can do it like this:
from django.contrib.auth.models import User, Permission

user = User.objects.get(username='myusername')
permission = Permission.objects.get(codename='can_view_mymodel')
user.user_permissions.add(permission)
Alternatively, you might want to create roles using Django’s built-in groups. Groups can be assigned permissions collectively, which is useful for managing sets of users with similar access needs:
from django.contrib.auth.models import Group

group = Group.objects.create(name='Editors')
group.permissions.add(permission)
user.groups.add(group)
To check if a user has a specific permission, you can use the has_perm method, which simplifies permission checks within your views:
if request.user.has_perm('app_label.can_edit_mymodel'):
    # Allow access to edit MyModel
else:
    # Deny access
For view-level access control, Django provides decorators like permission_required that can be applied to class-based or function-based views:
from django.contrib.auth.decorators import permission_required

@permission_required('app_label.can_view_mymodel')
def my_view(request):
    # View logic here
Using class-based views, you can implement permission checks by overriding the get_queryset method or using mixins:
from django.contrib.auth.mixins import PermissionRequiredMixin
from django.views.generic import ListView

class MyModelListView(PermissionRequiredMixin, ListView):
    model = MyModel
    permission_required = 'app_label.can_view_mymodel'
By using Django’s permission system effectively, you can create a robust authorization layer that meets your application’s needs. This allows you to control access to sensitive data and operations while providing a clear structure for user roles and permissions.
As you continue to develop your application, consider how different user roles will interact with your data. Implementing custom permissions not only enhances security but also improves the overall user experience by ensuring users have access only to the features relevant to them.